
Flat tires rarely happen at a convenient time. They often strike in the middle of a trip, on a lonely highway, or during bad weather. Knowing how to change a tire during travel is an essential driving skill that can save you time, money, and stress.
This expert guide walks you through the entire process in clear, human-friendly language. Whether you’re a new driver or just need a refresher, follow these steps to handle a flat tire safely and confidently.
Why Every Driver Should Know How to Change a Tire
Roadside assistance is helpful—but it’s not always available quickly. In many travel situations, you may be:
- Far from service stations
- In areas with poor mobile signals
- Traveling late at night
- On a tight schedule
Learning to change a tire yourself gives you independence and peace of mind.
Key benefits:
- Saves waiting time
- Reduces towing costs
- Improves travel safety
- Builds driver confidence
Tools You Must Have Before Traveling
Before we dive into the steps, make sure your vehicle has the necessary equipment. Most cars come with a basic tire-changing kit in the trunk.
Essential Items Checklist
Keep these items in your car at all times:
- Spare tire (properly inflated)
- Car jack
- Lug wrench (wheel nut wrench)
- Vehicle owner’s manual
- Wheel wedges or blocks
- Flashlight (especially for night travel)
- Reflective warning triangle
- Gloves (recommended)
Pro tip: Check your spare tire pressure every few months. Many drivers forget this and discover the spare is flat too.
Step 1: Find a Safe Place to Stop
Your safety comes first. As soon as you notice a flat tire, do not brake suddenly.
What to Do
- Slow down gradually
- Turn on hazard lights immediately
- Move to the side of the road
- Choose a flat, firm surface
Avoid These Risky Spots
- Curves or blind turns
- Narrow shoulders
- Soft or muddy ground
- Busy traffic lanes
If possible, pull into a parking lot or service area. The more space you have, the safer the tire change will be.
Step 2: Secure the Vehicle
Before touching the tire, make sure the car cannot roll.
Follow These Safety Steps
- Engage the parking brake
- Put the car in Park (automatic) or first gear (manual)
- Place wheel wedges behind the tires
- Keep hazard lights on
If you have a reflective triangle, place it about 45–60 meters (150–200 feet) behind your car to alert other drivers.
Step 3: Remove the Hubcap or Wheel Cover
Some vehicles have a hubcap covering the lug nuts.
How to Remove It
- Use the flat end of the lug wrench
- Gently pry the hubcap off
- Set it aside safely
If your wheels are alloy and the nuts are exposed, you can skip this step.
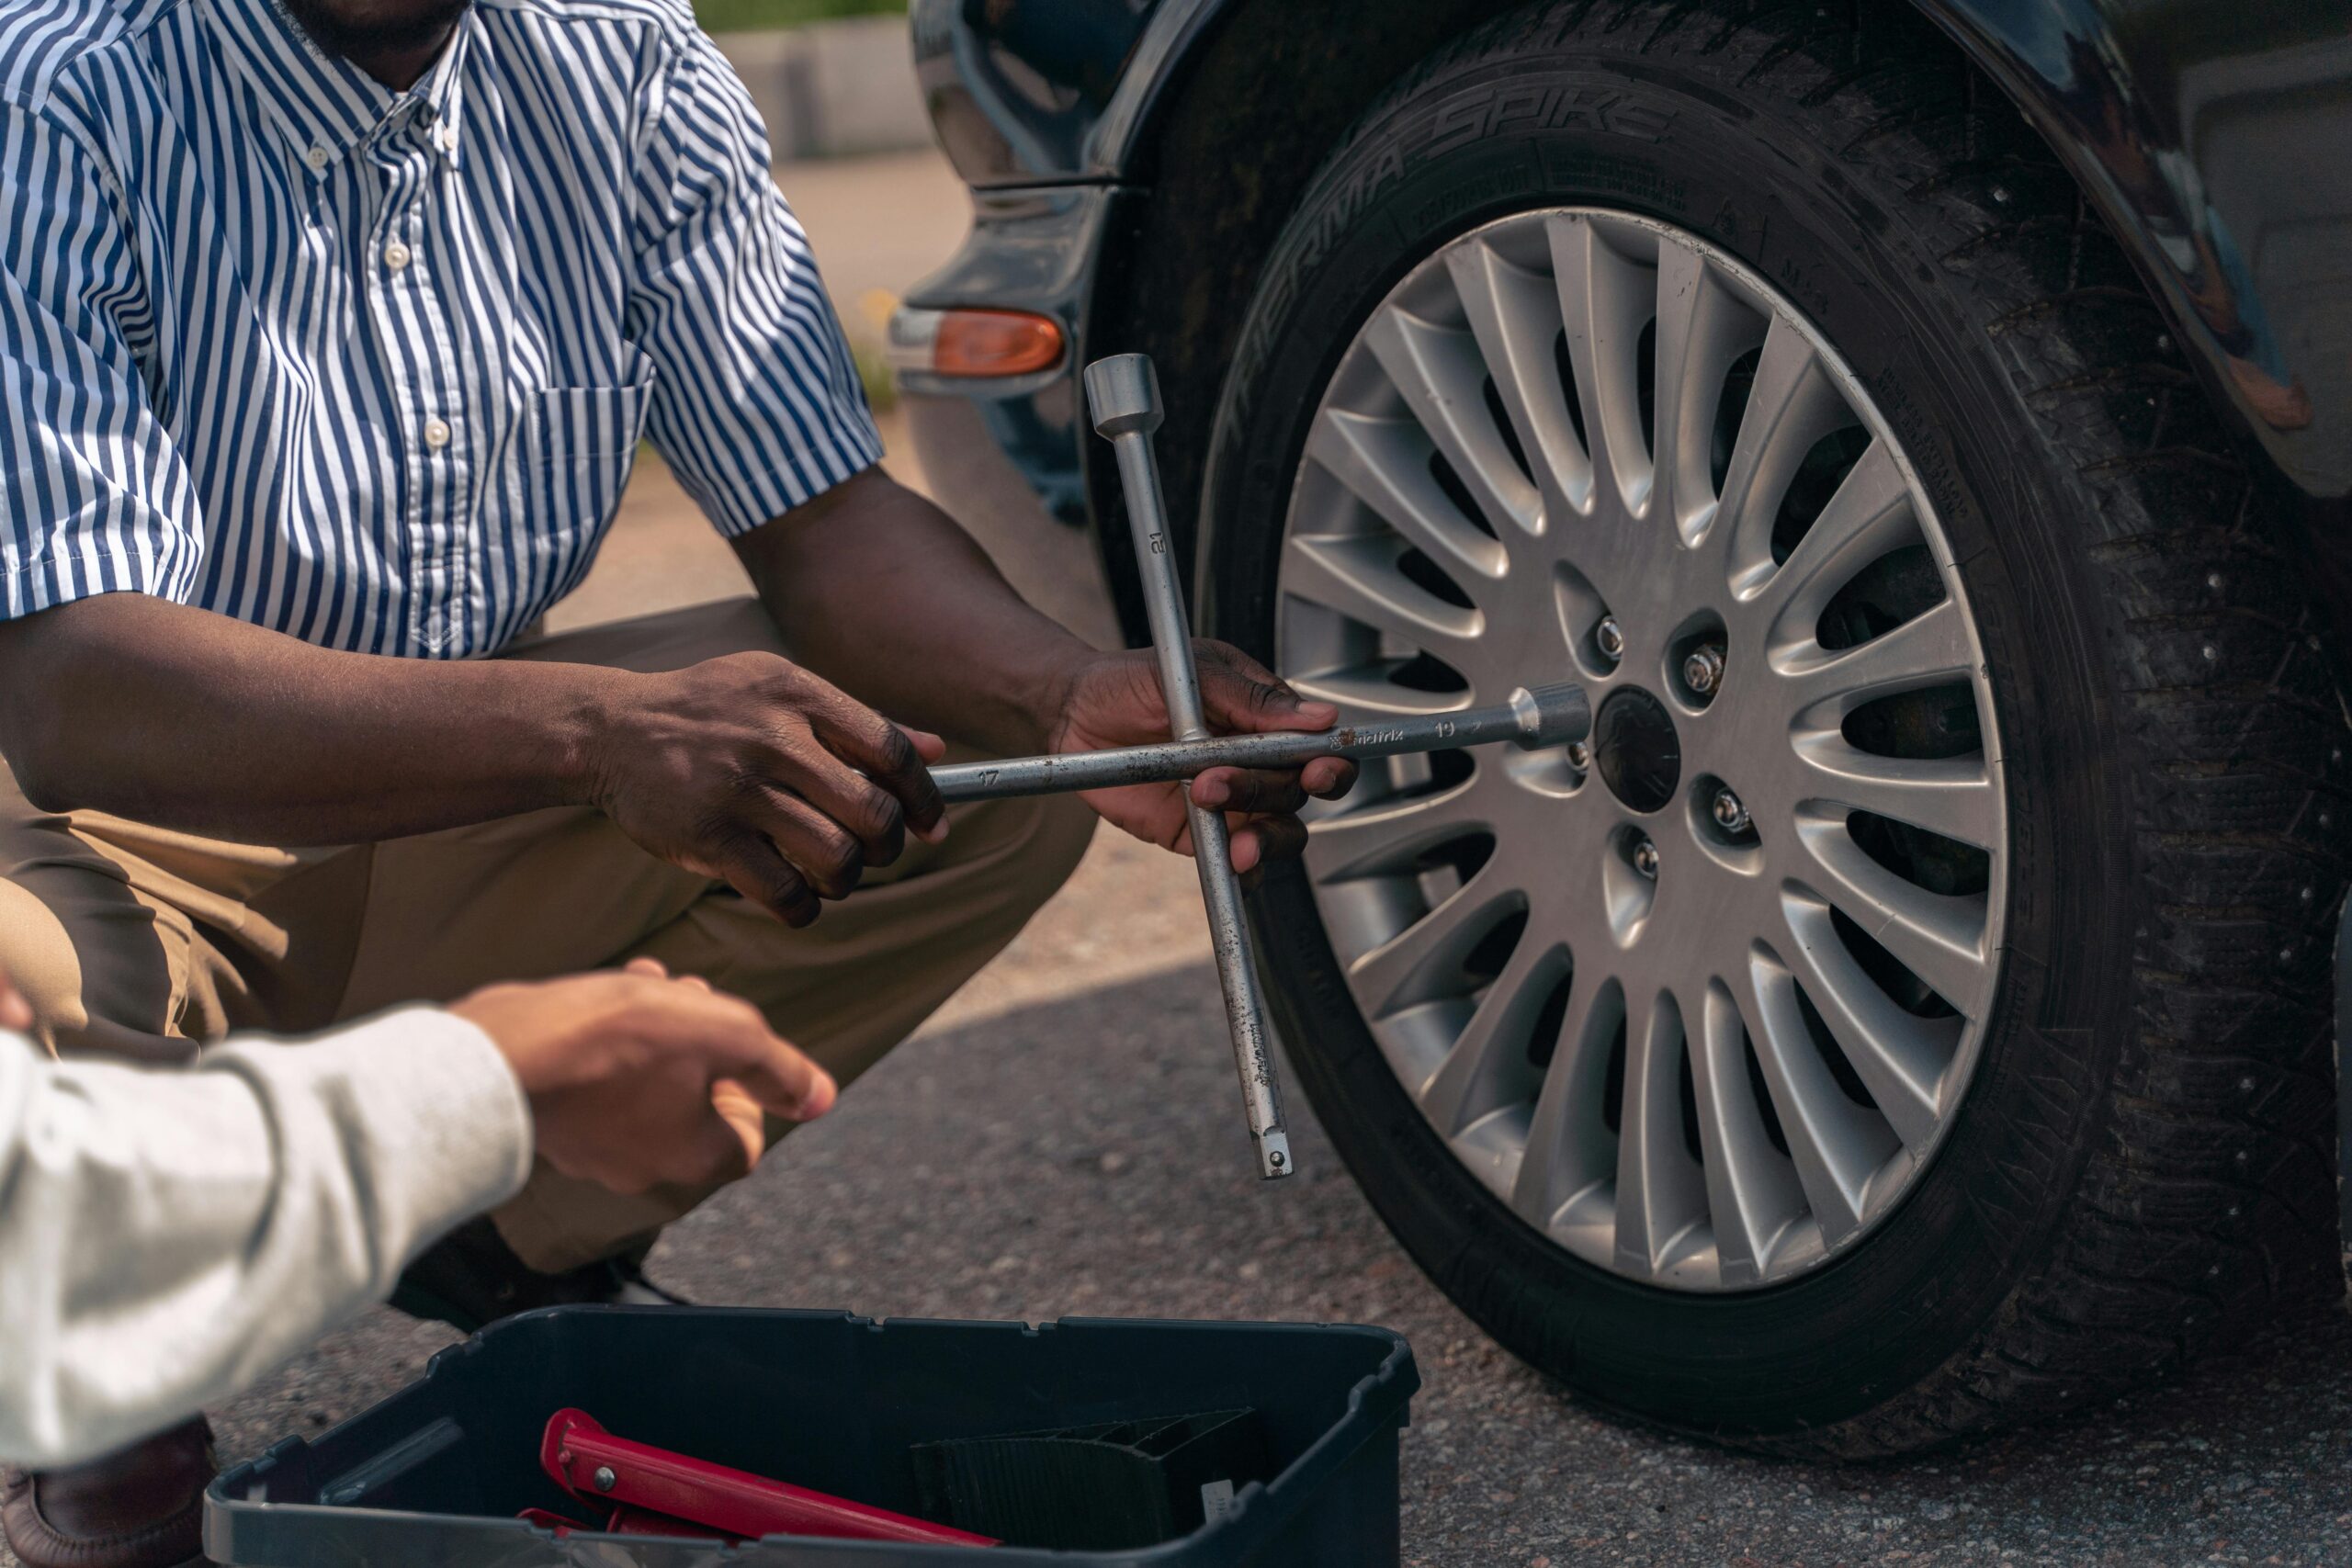
Step 4: Loosen the Lug Nuts (Before Lifting)
This is one of the most important steps. Always loosen the lug nuts before raising the car.
Correct Method
- Place the lug wrench on a nut
- Turn counterclockwise
- Apply steady pressure
- Loosen each nut about one turn
Why this matters:
If the wheel is already in the air, it will spin when you try to loosen the nuts.
Helpful Tip
If the nuts are very tight, carefully use your foot to press the wrench for extra leverage.
Step 5: Position the Jack Properly
Every vehicle has specific jack points. Using the wrong spot can damage your car.
How to Find the Jack Point
- Check your owner’s manual
- Look behind the front wheel or in front of the rear wheel
- Find the reinforced metal notch under the frame
Important Safety Rule
Never place the jack under plastic parts or thin metal.
Step 6: Lift the Car
Now slowly raise the vehicle until the flat tire is off the ground.
Safe Lifting Steps
- Insert the jack firmly
- Turn the jack handle clockwise
- Lift until the tire is about 2–3 inches off the ground
- Ensure the car is stable
Warning:
If the vehicle feels unstable, lower it and reposition the jack.
Step 7: Remove the Lug Nuts Completely
Now that the wheel is lifted, finish removing the nuts.
What to Do
- Unscrew all lug nuts
- Place them in a safe container or pocket
- Keep them clean and together
Avoid placing them on the road where they can roll away.
Step 8: Remove the Flat Tire
Grip the tire firmly with both hands.
Proper Removal Technique
- Pull the tire straight toward you
- Avoid tilting excessively
- Lay the flat tire flat on the ground
Placing it flat prevents it from rolling into traffic.
Step 9: Mount the Spare Tire
Now install the spare.
Step-by-Step
- Align the spare with the wheel bolts
- Push the tire onto the hub
- Hold it in place
- Hand-tighten the lug nuts
Start tightening nuts by hand to ensure proper threading.
Step 10: Tighten Lug Nuts in a Star Pattern
Proper tightening is critical for wheel safety.
Correct Pattern
Tighten in a crisscross (star) pattern:
- Top nut
- Opposite bottom nut
- Next side nut
- Opposite side
This ensures even pressure on the wheel.
Important: Only tighten snugly for now. Final tightening happens after lowering the car.
Step 11: Lower the Vehicle
Slowly bring the car back down.
Steps
- Turn the jack handle counterclockwise
- Lower until the tire touches the ground
- Remove the jack completely
Once the vehicle is fully grounded, proceed to final tightening.
Step 12: Fully Tighten the Lug Nuts
Now secure the wheel properly.
Final Tightening Tips
- Use the star pattern again
- Apply firm pressure
- Ensure each nut is tight
If available, use a torque wrench later for exact specifications.
Step 13: Replace the Hubcap (If Applicable)
If your car has a hubcap:
- Align it properly
- Press it back into place
Some spare tires (temporary donuts) do not use hubcaps.
Step 14: Store Your Equipment
Before driving away, clean up properly.
Checklist
- Put the flat tire in the trunk
- Store jack and wrench securely
- Remove wheel wedges
- Pick up warning triangle
Never leave tools on the roadside.
Important Safety Tips When Driving on a Spare Tire
Most spare tires are temporary (donut tires).
Follow These Rules
- Do not exceed 80 km/h (50 mph)
- Avoid long-distance driving
- Replace with a full tire as soon as possible
- Check spare tire pressure
Driving too fast on a spare can be dangerous.
Common Mistakes to Avoid
Many drivers make avoidable errors during roadside tire changes.
#1: Not Using Hazard Lights
Always warn other drivers immediately.
#2: Jacking on Uneven Ground
This can cause the vehicle to fall.
#3: Removing Nuts After Lifting
Always loosen before lifting.
#4: Losing Lug Nuts
Keep them in one safe place.
#5: Driving Too Fast on Spare
Temporary tires are not built for speed.
When You Should NOT Change the Tire Yourself
Sometimes it’s safer to call for help.
Call Roadside Assistance If:
- You’re on a busy highway with no shoulder
- Weather conditions are severe
- The ground is too soft or sloped
- You lack proper tools
- You feel unsafe or unsure
Your safety is always more important than speed.
Pro Travel Tips to Prevent Tire Trouble
Prevention reduces roadside stress.
Before Any Long Trip
- Check tire pressure
- Inspect tread depth
- Look for cracks or bulges
- Ensure spare tire is inflated
- Carry a portable air pump
Smart Add-Ons
Consider keeping:
- Tire pressure gauge
- Portable tire inflator
- Puncture repair kit
- Reflective safety vest
These small tools can make a big difference during travel emergencies.
Final Thoughts
Knowing how to change a tire during travel is a practical skill every driver should master. Flat tires are unpredictable, but your response doesn’t have to be.
By following the safe, step-by-step method in this guide, you can handle roadside tire problems calmly and efficiently. Practice the process at home once—it will build confidence for real travel situations.
Remember: stay calm, stay visible, and always prioritize safety.
Quick FAQ
Q: How long does it take to change a tire?
Most people can do it in 15–30 minutes with proper tools.
Q: Can I drive long distance on a spare tire?
No. Temporary spares are meant only for short trips to a repair shop.
Q: What if my lug nuts are stuck?
Apply steady pressure or carefully use body weight on the wrench. If they still won’t move, call roadside assistance.